
Dune: Awakening Base-Building Guide: Rocky Spots Beat Sandworm Snacks
Survive Arrakis with this Dune: Awakening base-building guide to rocky base locations, the Construction Tool, and fixing misplaced walls.
Arrakis doesn't roll out the welcome mat. It rolls out sandworms, sandstorms, and a serious attitude problem. In Dune: Awakening, base-building is not just a cozy home-decor minigame; it's how players avoid becoming a spicy little snack on the dunes. The game technically introduces base-building early, but it leaves plenty of head-scratching gaps. This guide clears up where to build, how to start, and how to fix those 'oops, that wall was meant to go there' moments. As of 2026, these tips still save plenty of hides.
Step One: Materials and the Construction Tool
No base ever sprouted from good intentions alone. Players need a mountain of Granite Stone. Those little boulders scattered around the map are not decoration—they're the foundation of a survivor's future fortress. The best move is to whip out the Cutteray whenever a granite lump appears, because collecting hundreds of stones is basically an Arrakis cardio workout.
For the actual building, players also need Salvaged Metal to craft a Construction Tool. Without this gadget, all that granite is just a pile of rocks with ambition. Salvaged Metal shows up in heaps, but players need to keep their eyes peeled for it.
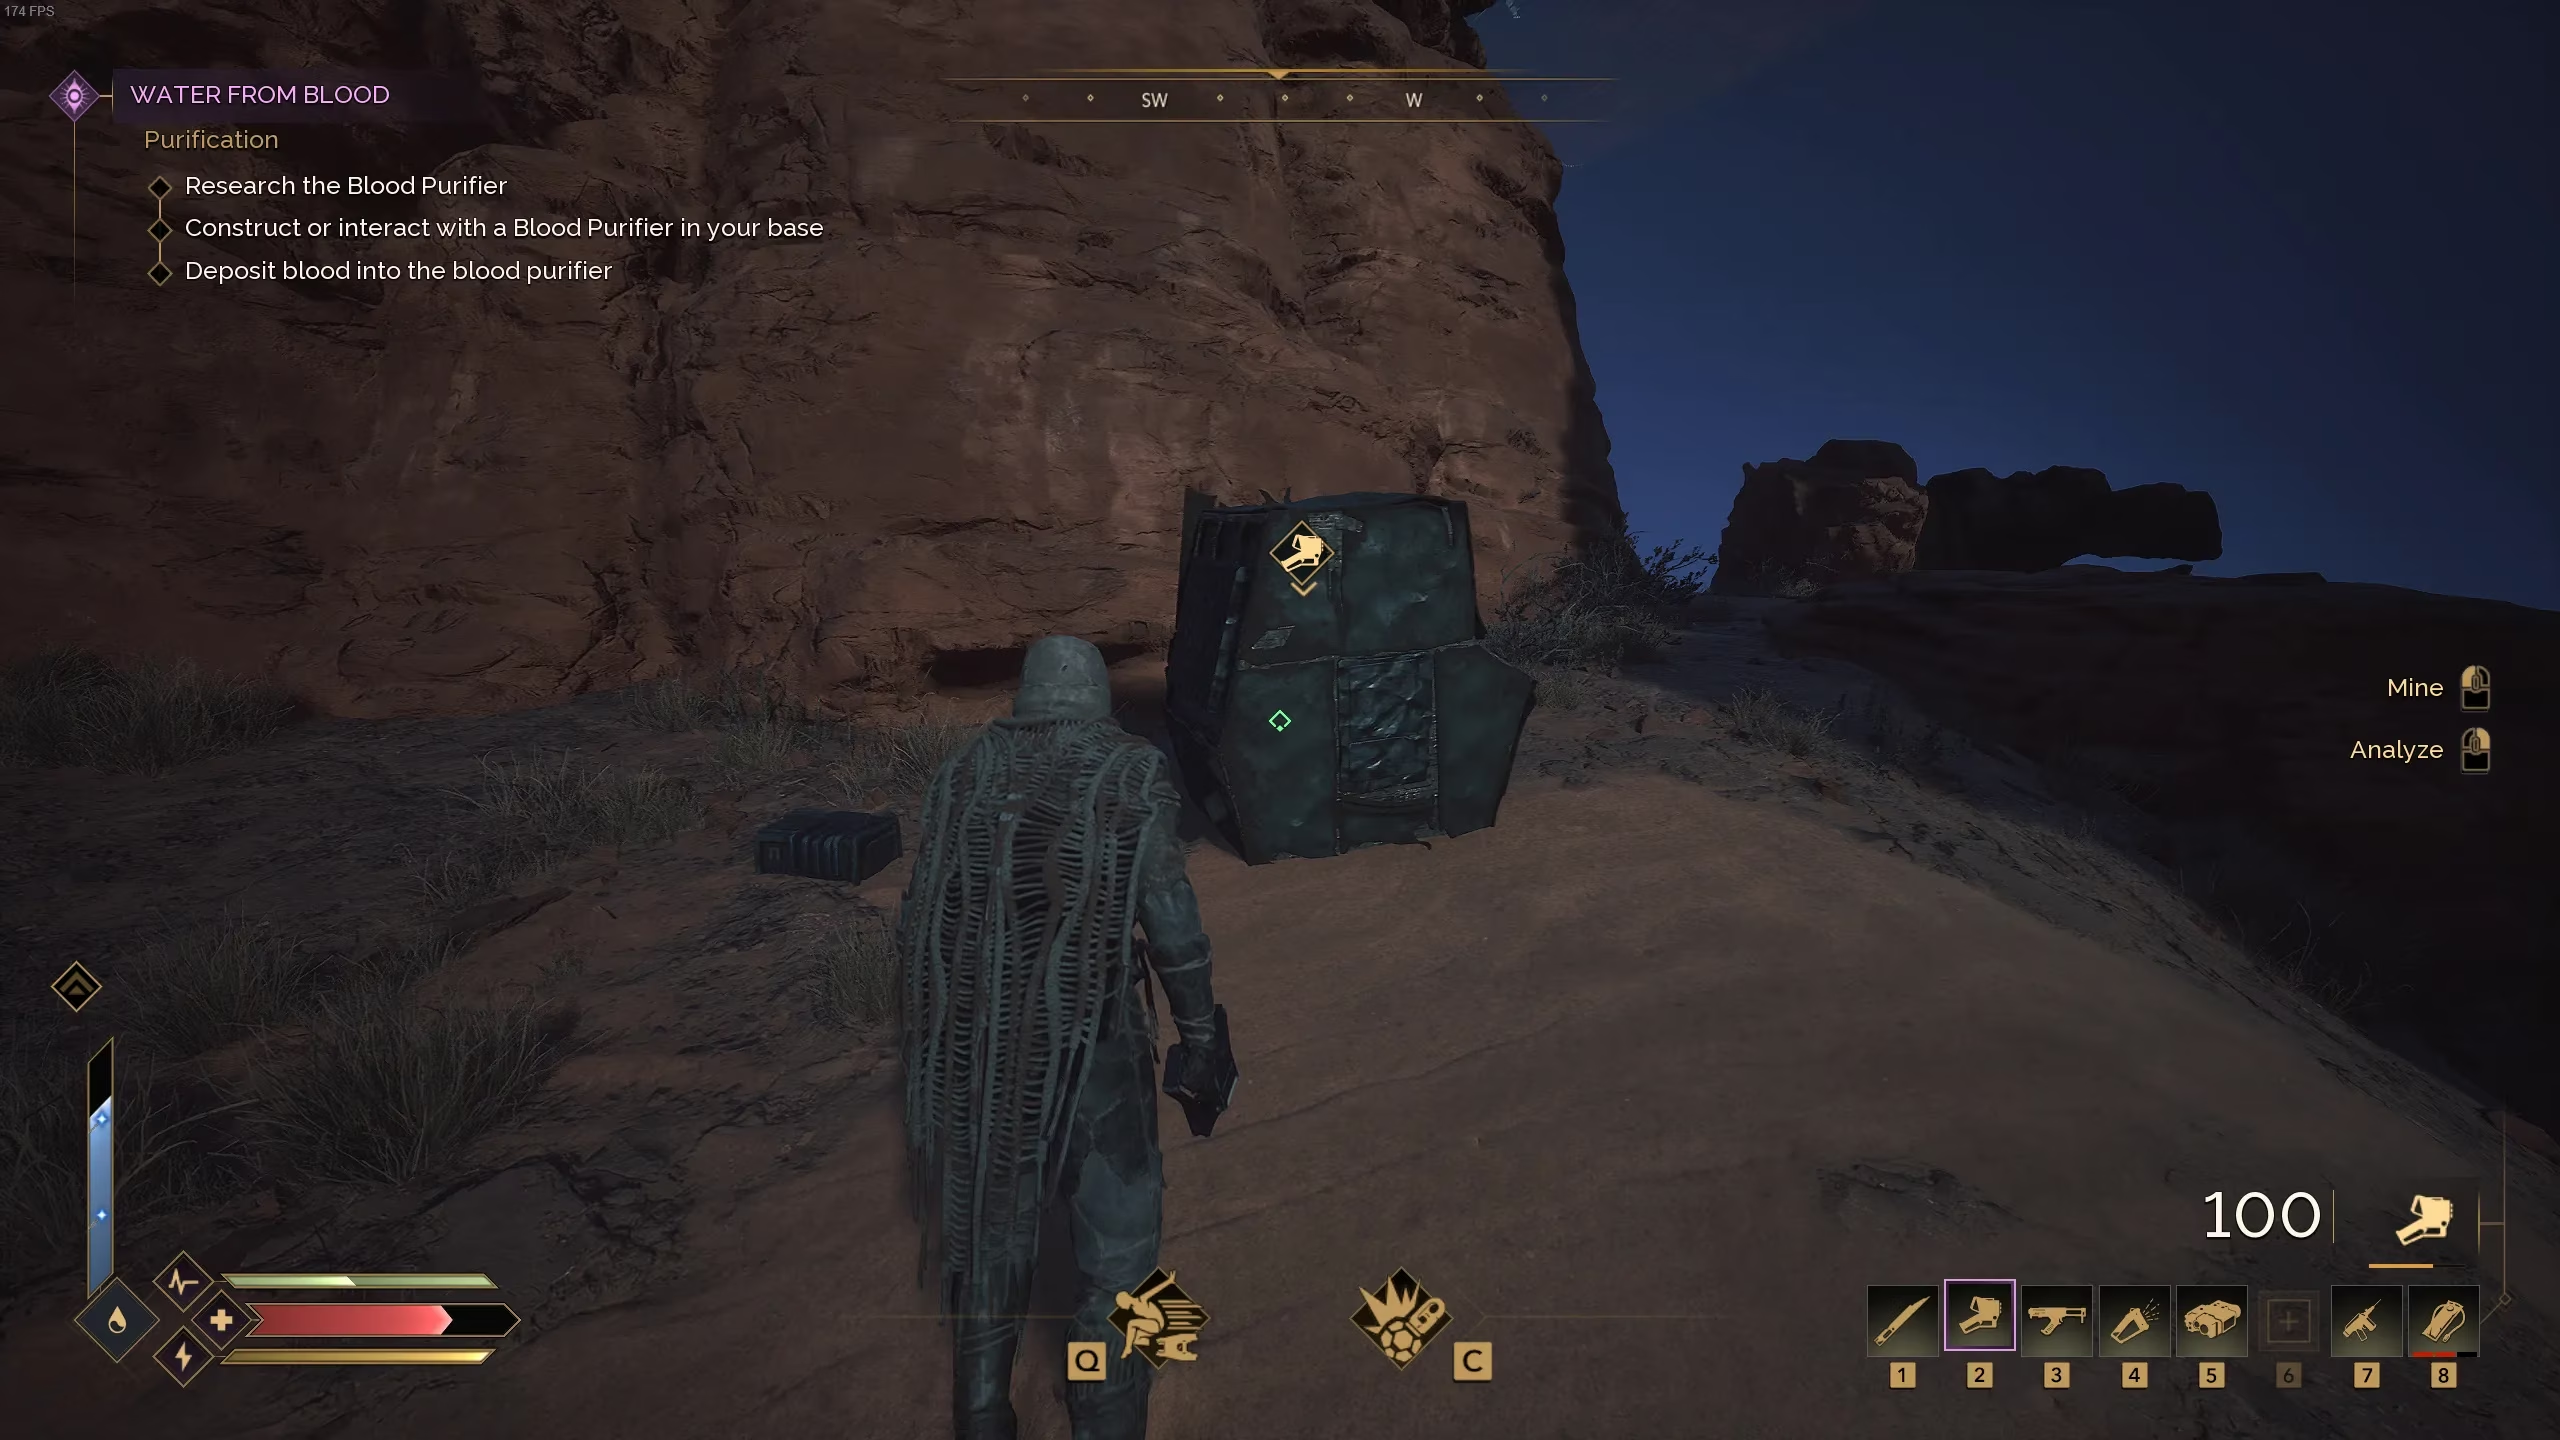
After crafting the Construction Tool, the next milestone is placing a Sub-fief Console. This device defines the base's build radius. It should be plopped somewhere central, because it's basically the beating heart of the operation.
Choosing a Base Location: Don't Pitch a Tent on the Sand
Location is everything, and Arrakis has a cruel sense of humor. For starters, building in the same area where a player spawned is a noob trap. Instead, players should open the map and zoom in on points of interest like trade posts, base camps, and chunky resource deposits. Setting up near those spots makes supply runs much less of a trudge.
But near points of interest is not the only test. The biggest mistake is building directly on sand. Sandworms love a free lunch, and sandstorms will treat a low-lying base like a piñata. The smarter play is to build on the rocky formations scattered around the world. Higher ground doesn't just work for Obi-Wan; it works for base builders too.
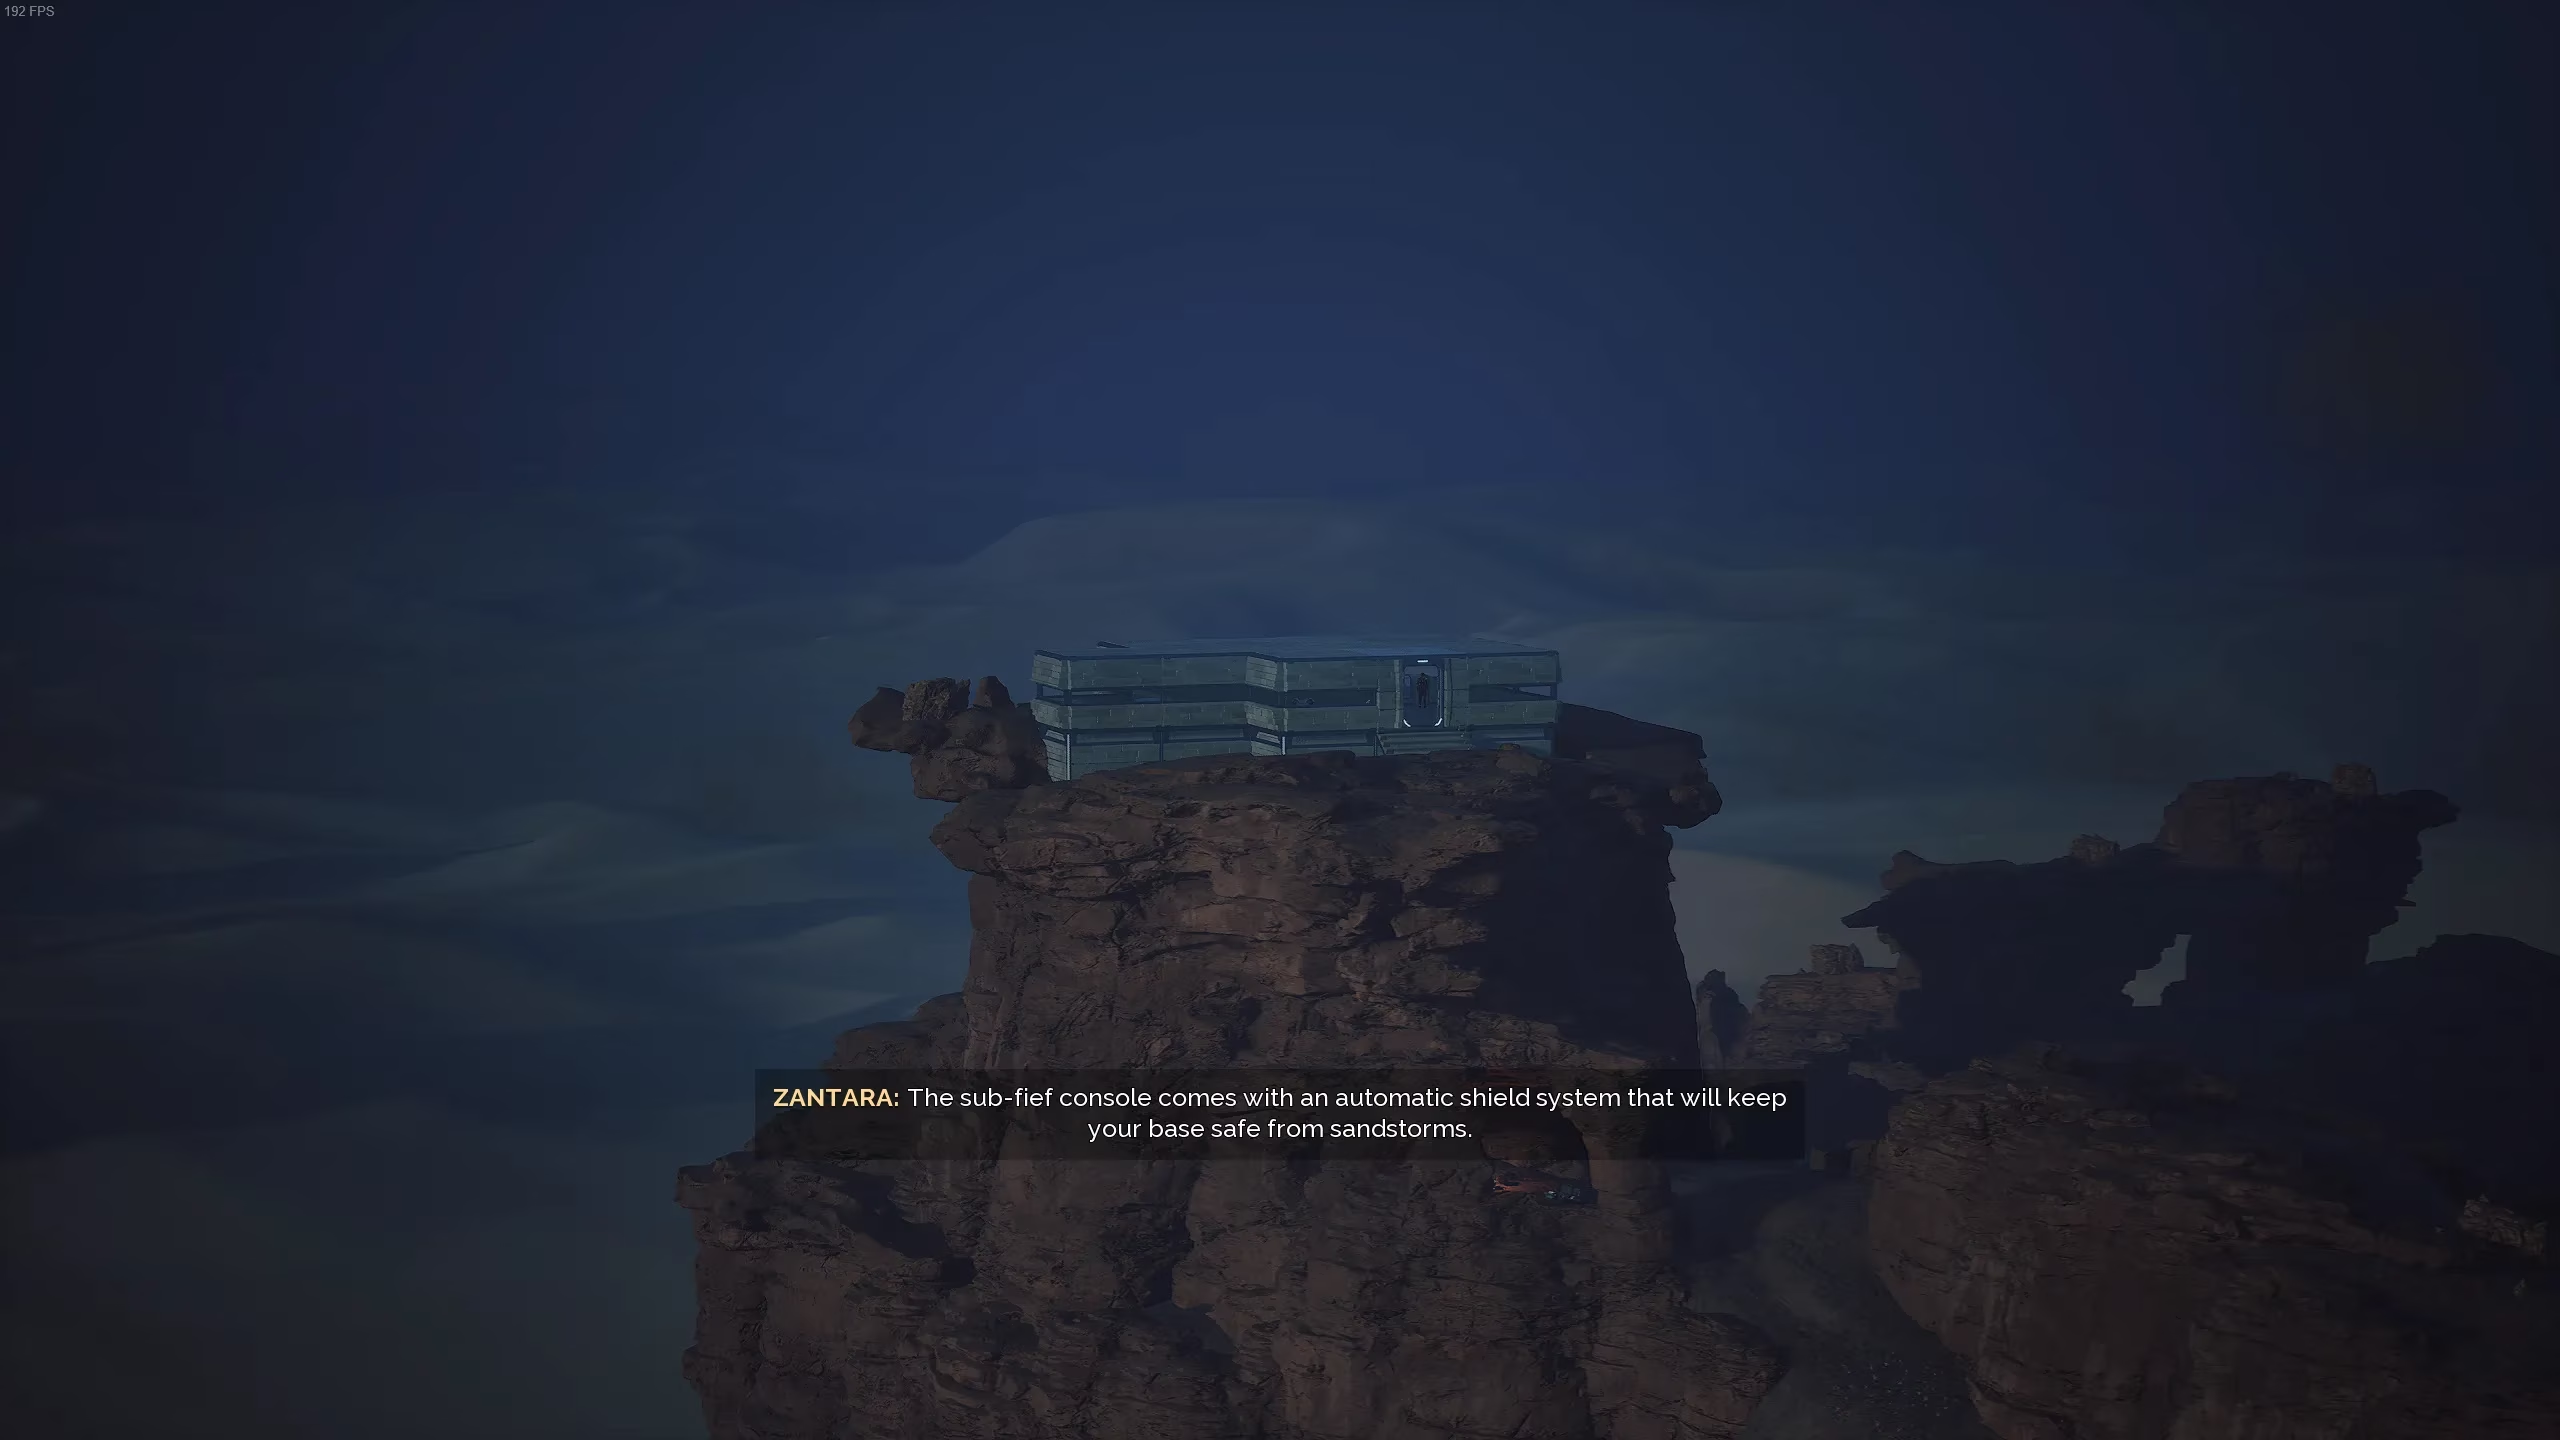
A flat surface on one of those rock formations is ideal. Players can even use the natural rock walls as windbreaks. Some classes, like the Trooper, can zipline up to a lofty base, which is both practical and a little bit show-offy.
Construction Mechanics: Lock It In, Then Build It
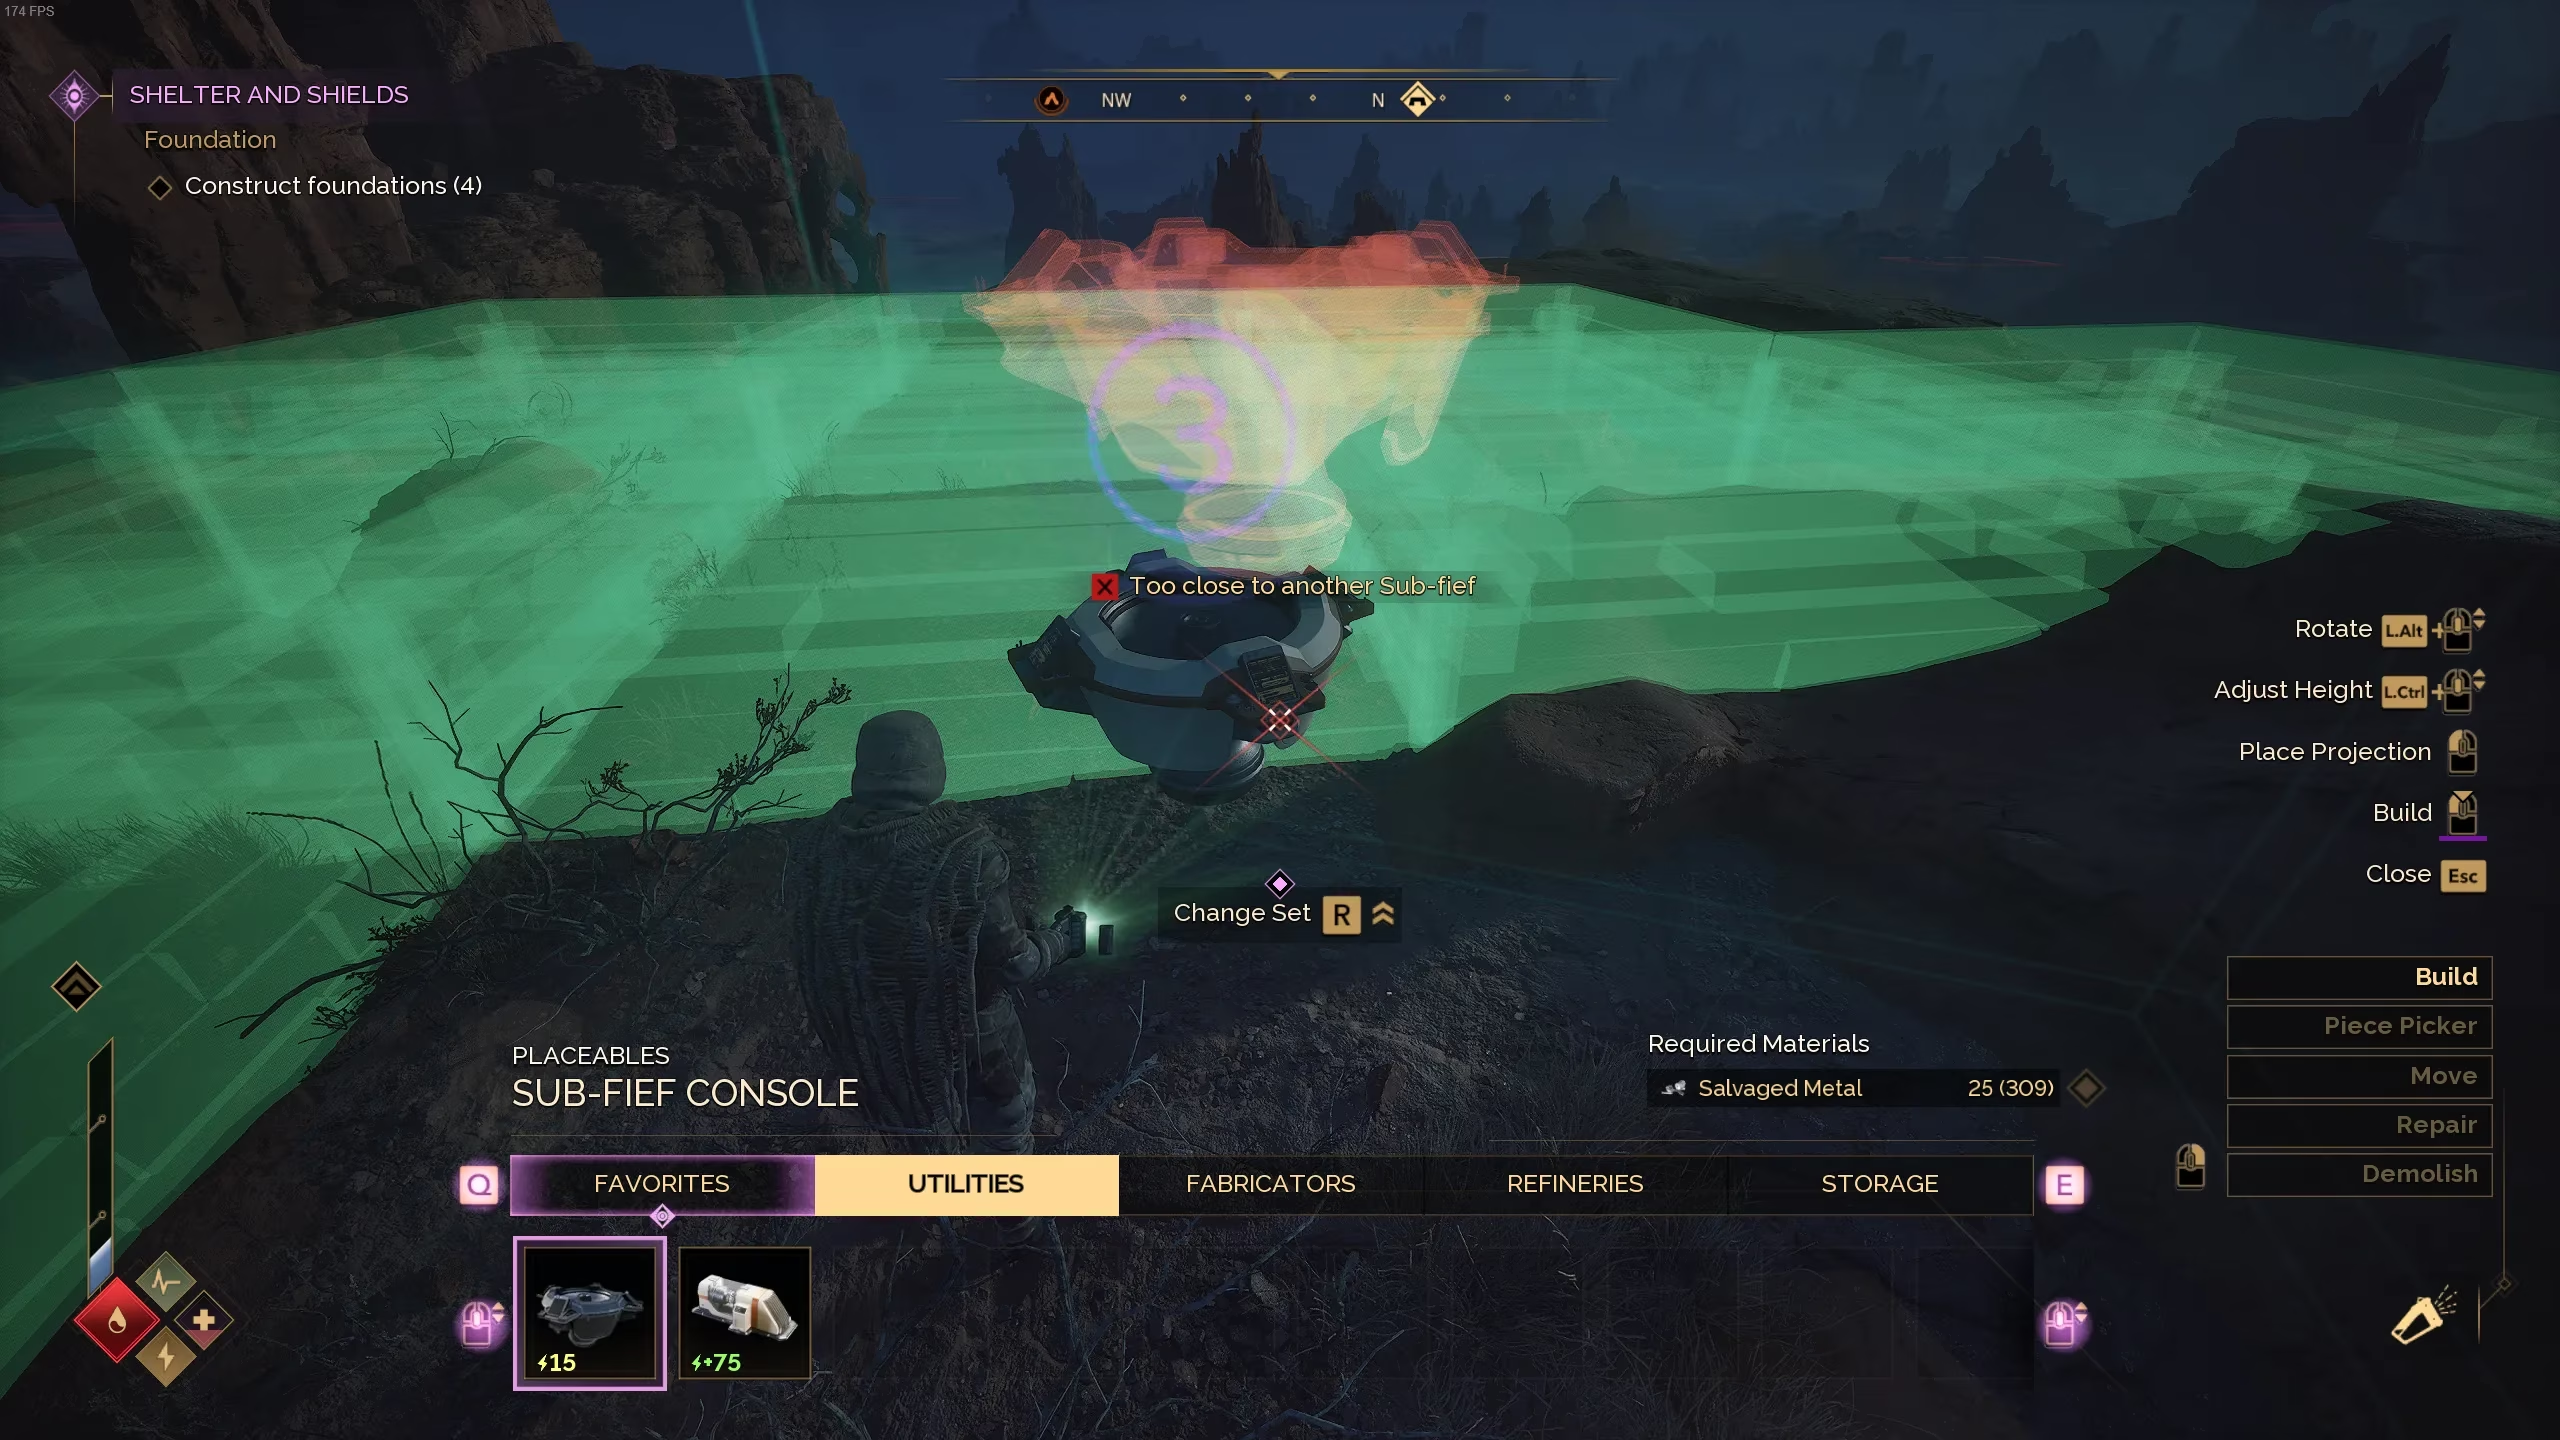
Once a base spot is selected, it's time to put the Construction Tool to work. Early on, players have access to basic foundations, walls, roofs, and floors, all made from Granite Stone. The process is a bit of a two-step dance.
First, a player chooses a structure from the menu and places it on the ground or snaps it to an existing piece. A left-click locks the blueprint into place. But the structure doesn't magically pop into existence—players must then aim at the ghostly framework and hold left-click to actually build it. If resources are missing, the game will just stare back blankly.
Here's a quick rundown of the location do's and don'ts for players who like their advice in table form:
| Do | Don't |
|---|---|
| Build near trade posts, base camps, and resources | Build in the starting area and call it a day |
| Build on rocky formations | Build on sand and wait for a sandworm |
| Use rock walls as natural wind protection | Ignore sandstorms and hope for the best |
Moving and Demolishing: Undo Your Chaos
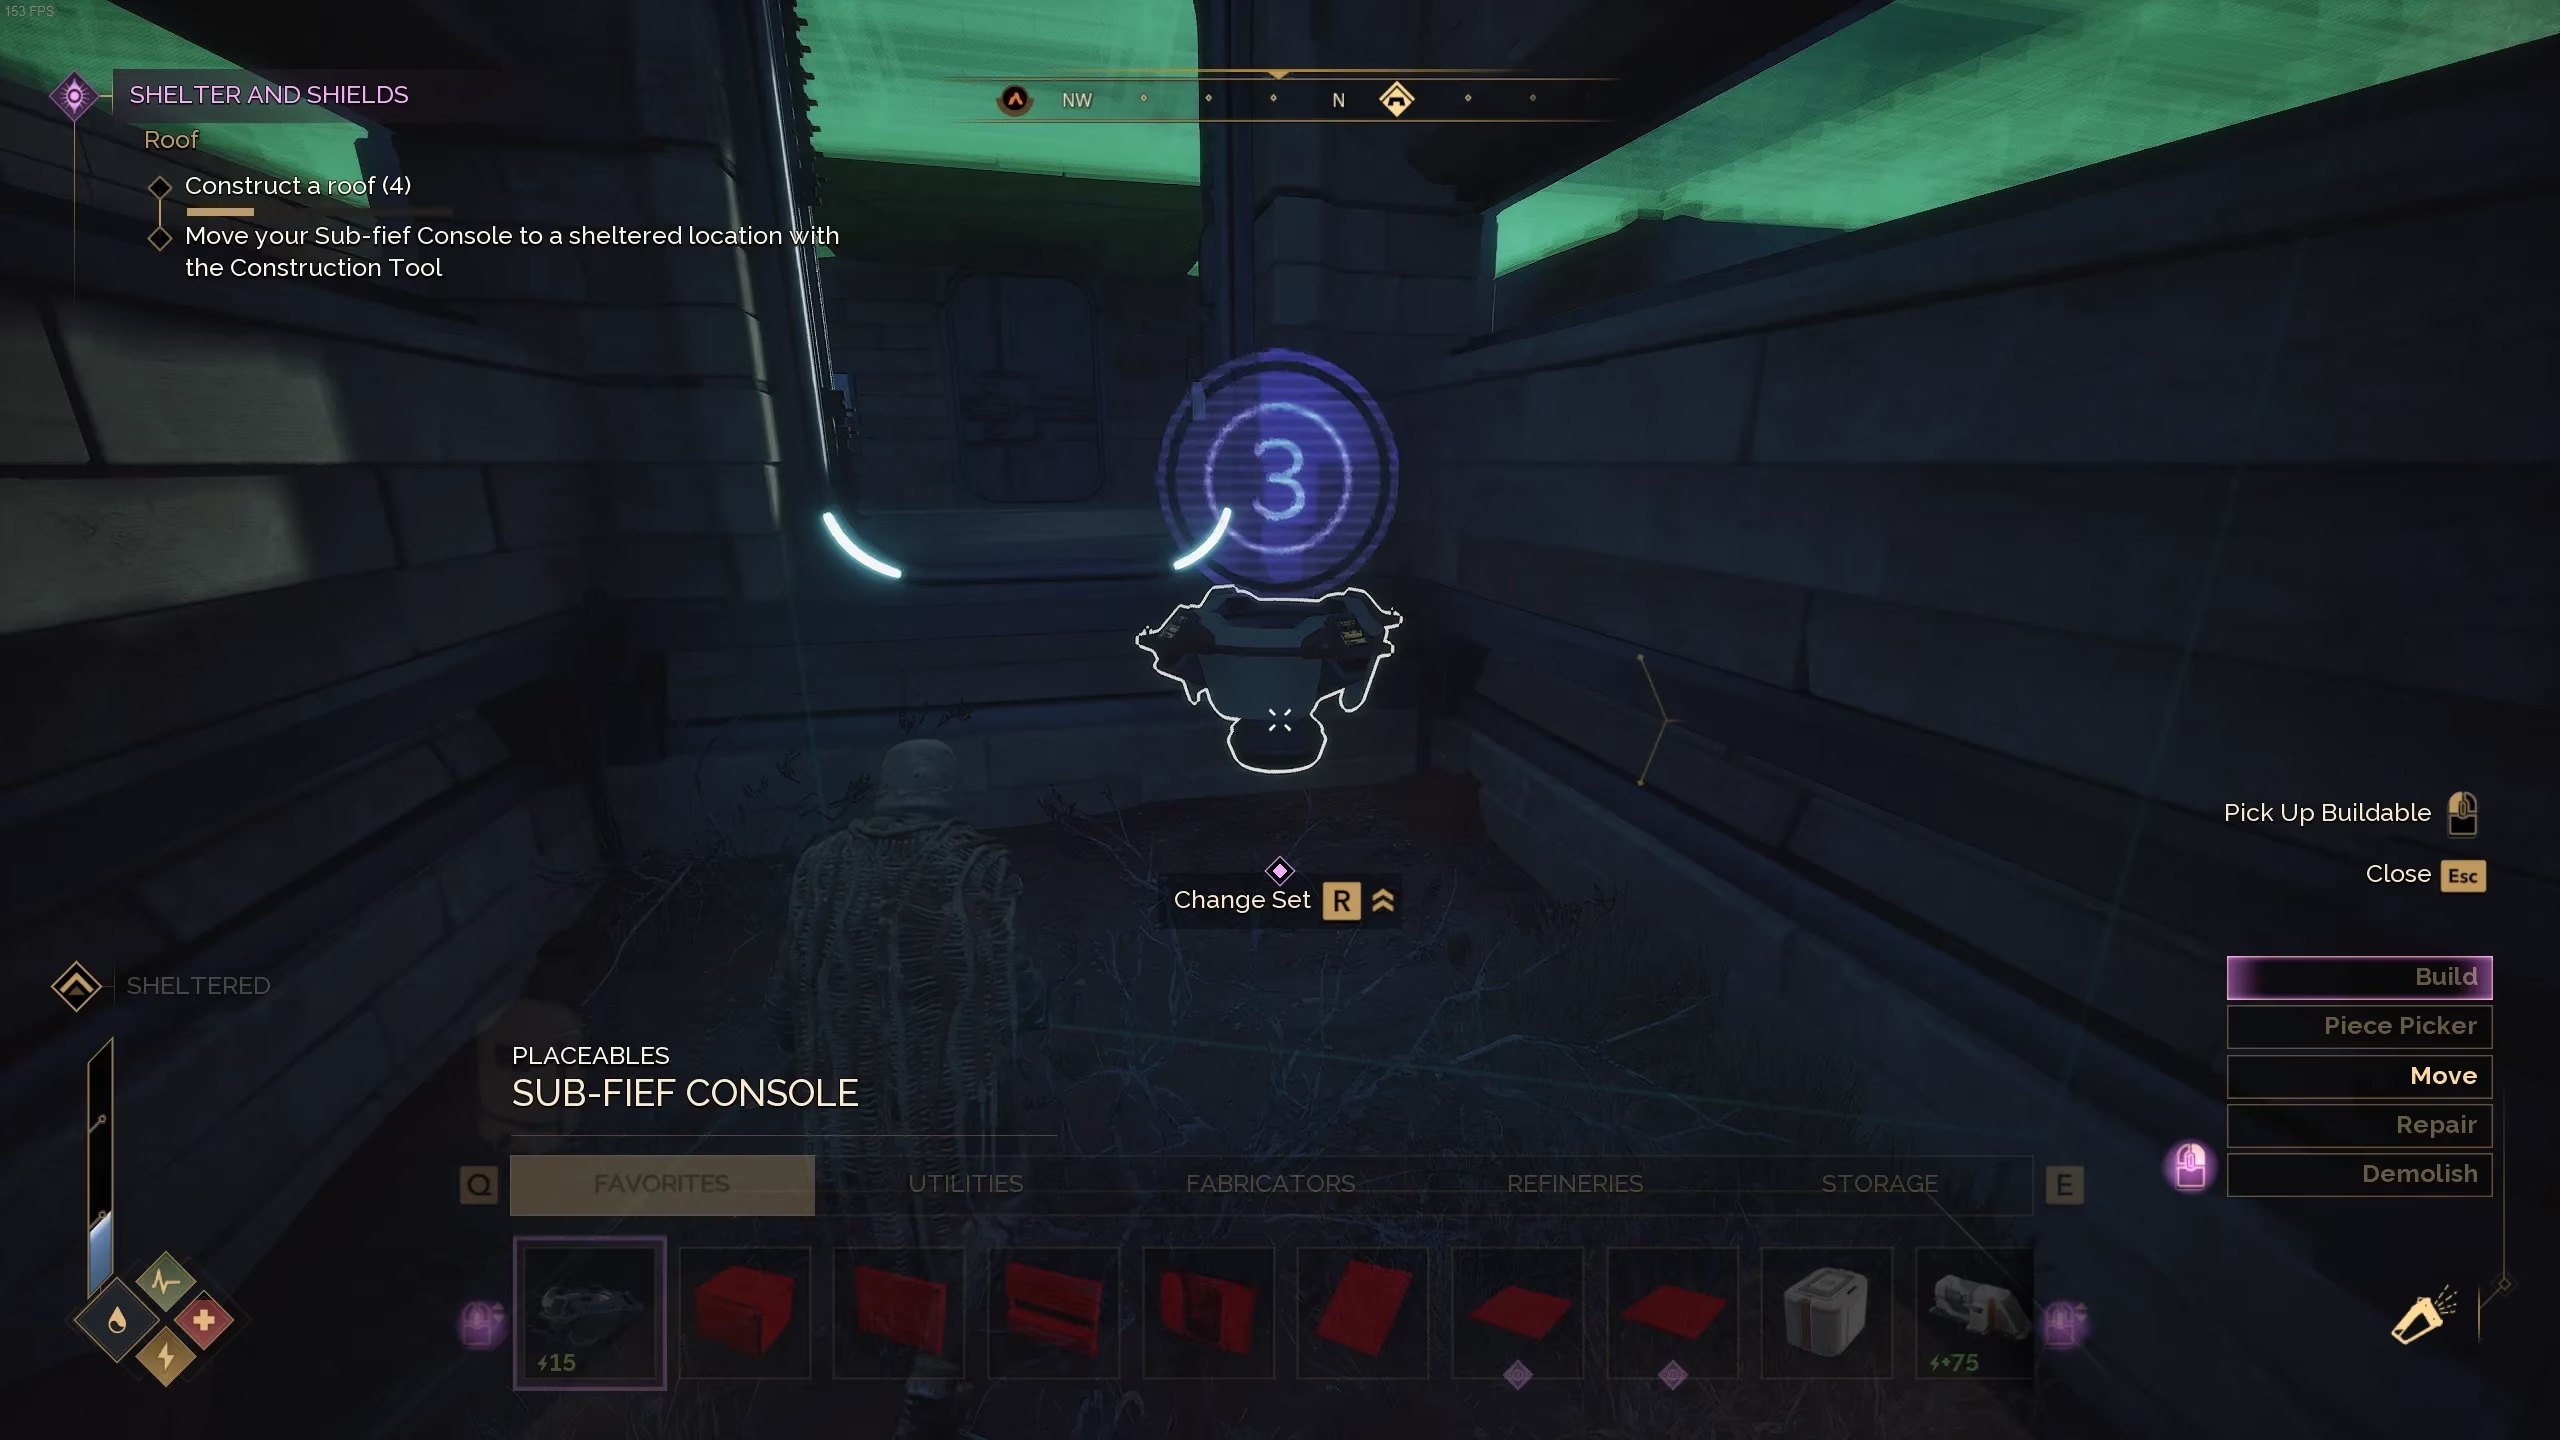
Even the best-laid plans go sideways. The Construction Tool has a small menu on the right side of the screen with options like Build, Piece Picker, Move, Repair, and Demolish. On PC, players can cycle through those options by clicking the right mouse button like they're flipping through TV channels.
To demolish an unwanted object, players should cycle to Demolish, aim at the offending structure, and left-click. Poof—gone. To move something, they should select Move, aim at the object, left-click to pick it up, then left-click again to set it down. This is especially handy for relocating the Sub-fief Console after realizing the first spot wasn't quite 'central' enough.
As players progress, more construction options unlock, but the core workflow stays the same. Whether it's a humble stone box or a fortified desert palace, the trick is the same: gather a ton, build on rock, and don't be afraid to move things around. In the end, a smart base on Arrakis is what separates a seasoned survivor from sandworm dessert. 😄
The following analysis references SteamDB for a platform-level perspective that complements the in-game base-building loop described above. When players plan long gathering runs for Granite Stone and Salvaged Metal or iterate on layouts by moving and demolishing pieces, it helps to remember that Early Access titles can shift rapidly through updates; checking current build history and activity trends can add context for why construction controls, balance, or progression pacing may feel different from week to week.