
Dune: Awakening Beginner Guide: Six Essential Tips for Surviving Arrakis
Dune: Awakening beginner tips: survive Arrakis in this survival MMO with sandworm, mission, and base strategies.
Arrakis is a planet that punishes hesitation, and Dune: Awakening wastes little time in making that clear. From the moment a player leaves the character creator, the survival MMO throws them into relentless heat, scavenger ambushes, and the constant threat of the sandworm. Even in 2026, after multiple updates and community discoveries, the fundamentals of survival on Arrakis remain largely the same. New players who understand a few core systems early on will progress faster, build stronger bases, and avoid the most common deaths. The following six beginner tips are designed to help any newcomer establish a solid foothold in the deep desert.

1. Respect the Sandworm, but Do Not Fear the Desert
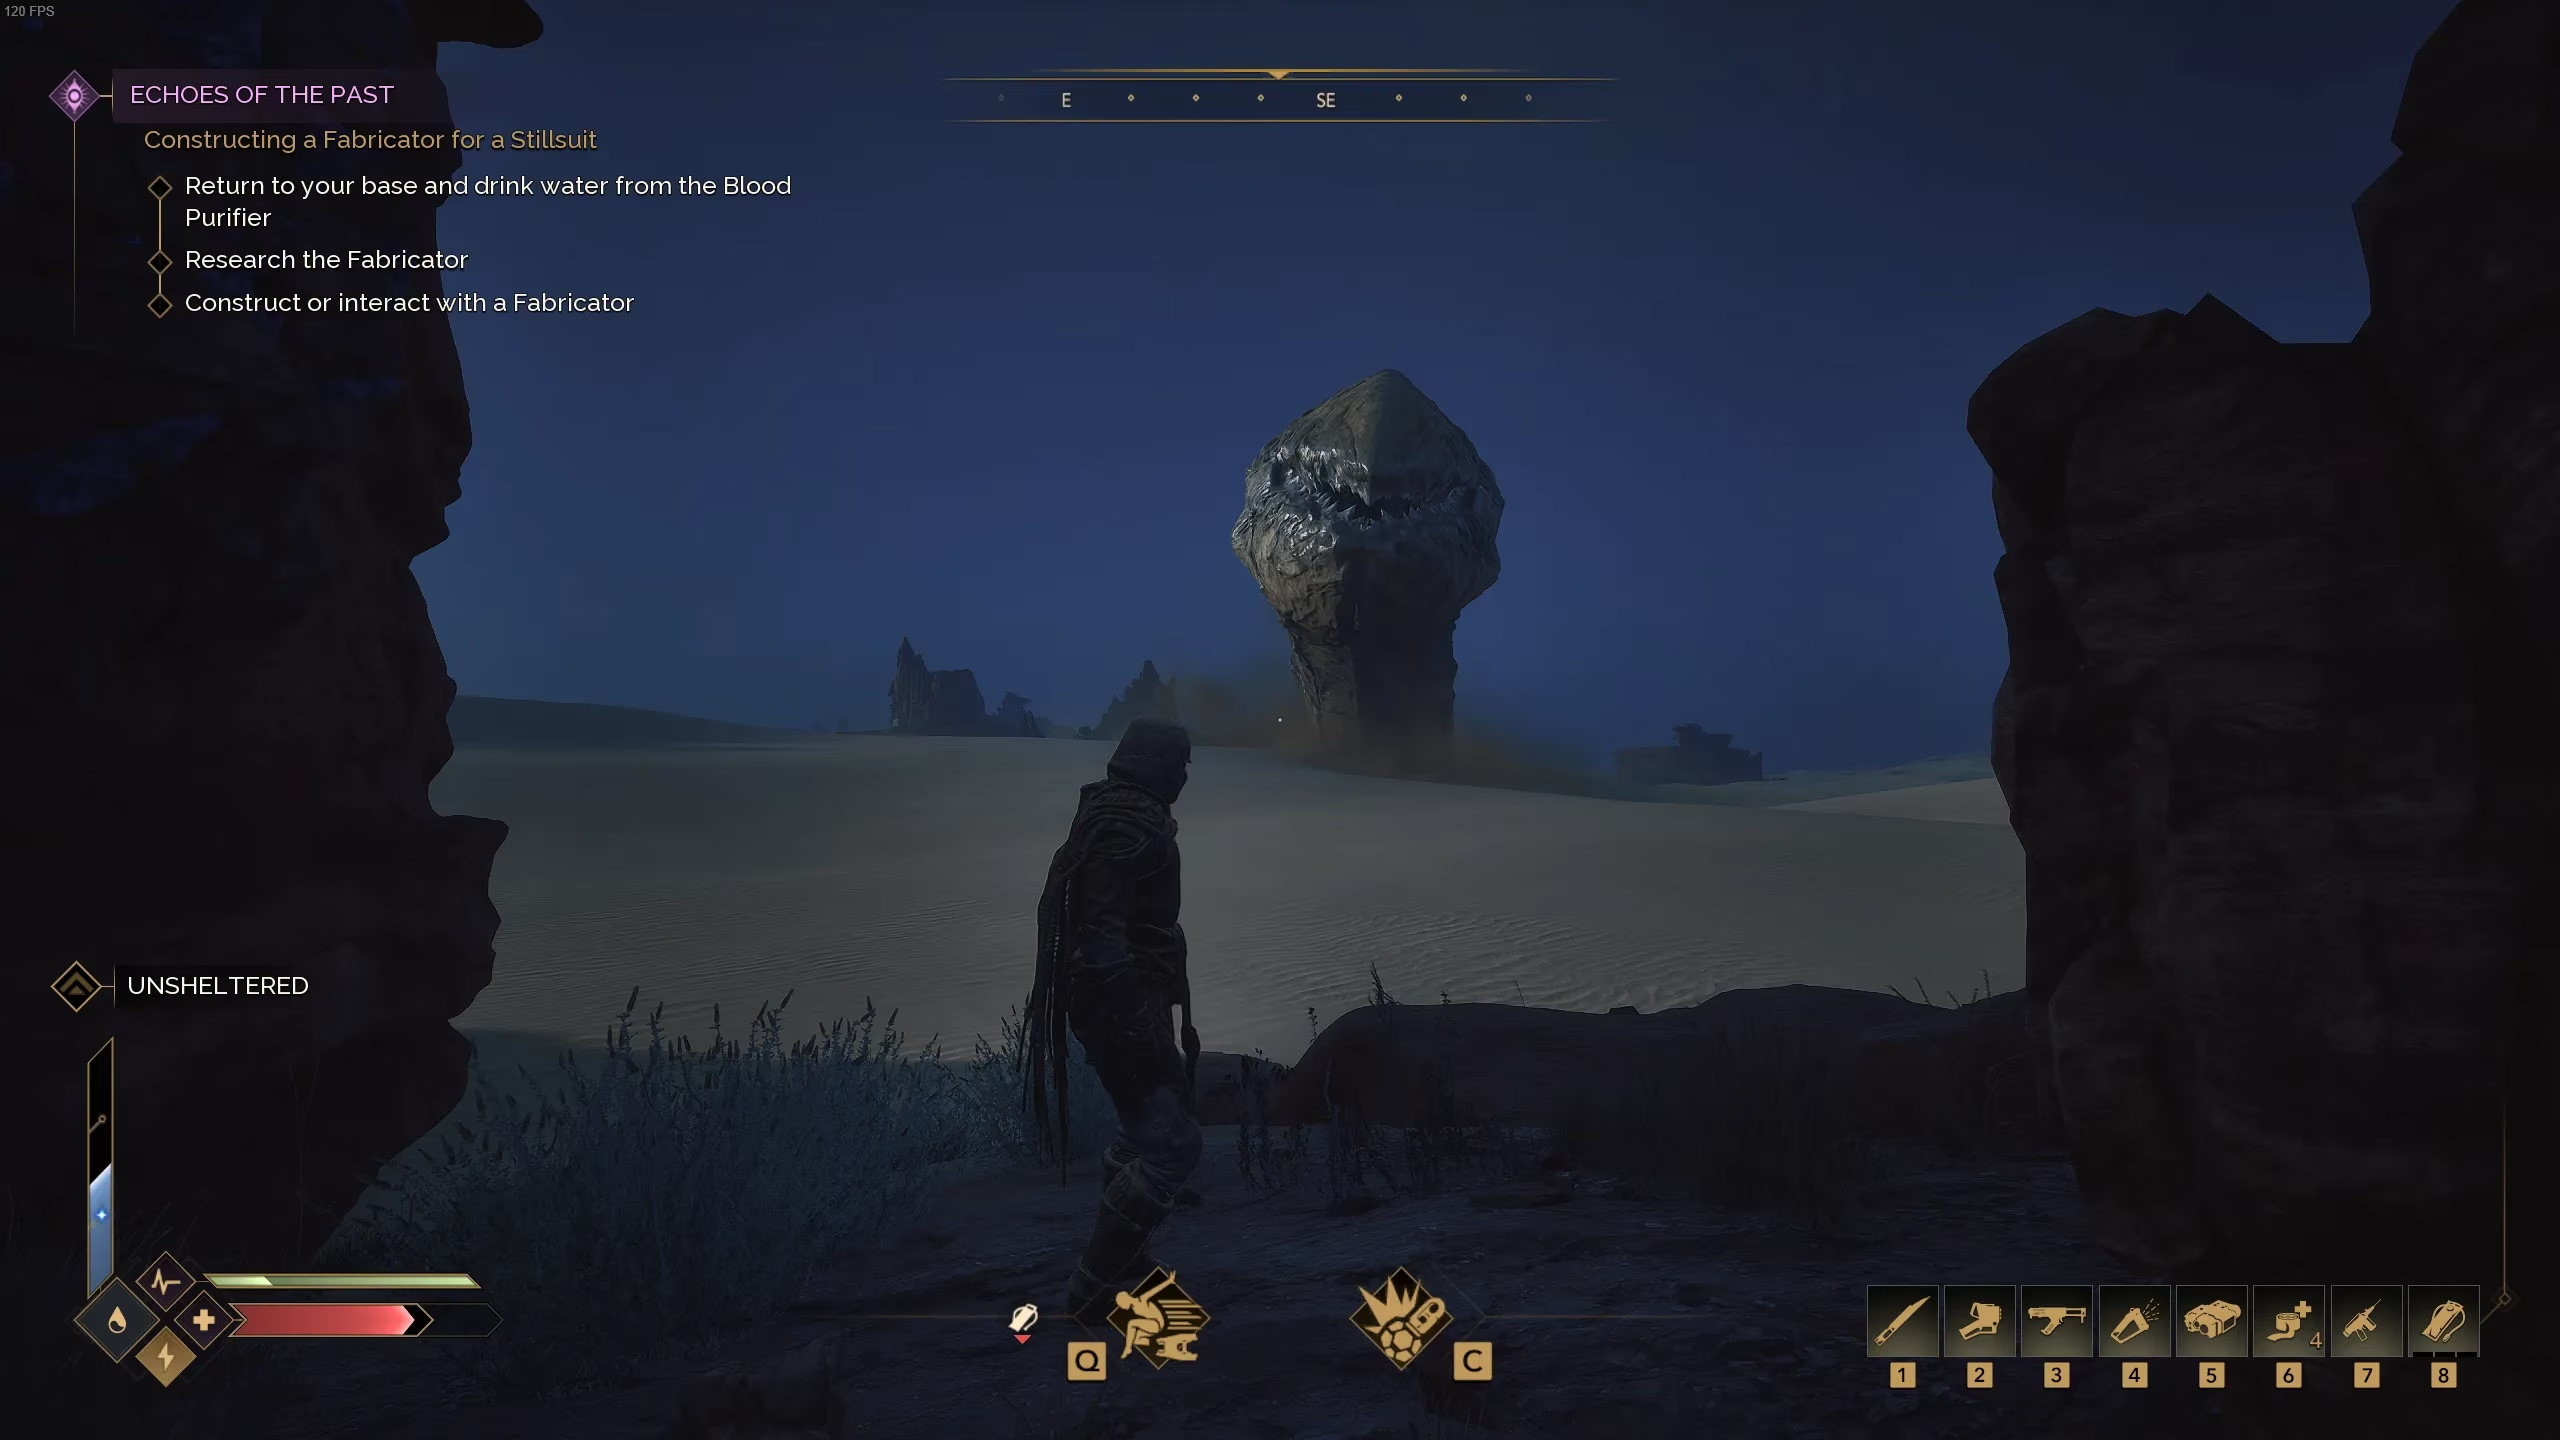
The sandworm is the single largest immediate threat in Dune: Awakening. This colossal underground predator patrols beneath the dunes, and its presence is often announced by vibrations. Players should watch the vibration meter on screen, but they should also understand that the worm is not an automatic death sentence. Sprinting across open sand is usually enough to survive. The worm first erupts dramatically from the ground, then pauses for several seconds before giving chase with its mouth open. Once the player reaches rocky terrain, the pursuit stops. In most situations, a player can cross a stretch of desert without the worm appearing at all. The key is to avoid lingering on sand, to move between rocky formations, and to keep an eye on the vibration indicator. With that knowledge, the desert becomes a calculated risk rather than a death trap.
2. Follow the Main Missions During the Early Game
It may sound obvious, but the main mission chain is the best guide for the first several hours. These missions teach players how to level up, how to set up base stations, and how to manage blood and water, which are essential for staying alive. They also introduce crafting, research, and the basic economy of Arrakis. After players feel comfortable with the world, they can branch out into side quests, base expansion, and free exploration. During the early game, however, following the on-screen quests is the most efficient way to build a character foundation. The main missions also provide useful rewards and blueprints that make later survival much easier.
3. Choose a Base Location Near Activity and Rock
Within the first hour or two, players will be tasked with constructing a base. Building at the starting point is tempting, but it is rarely optimal. A better choice is to settle near activity: tradeposts, base camps, or scavenger camps. These locations provide steady access to resources such as Salvaged Metal and Fuel Cells. At the same time, safety matters. Building on top of a rocky formation or embedding the base into rock is the best way to avoid sandworm attacks. Sand is not a safe foundation. A base near useful nodes and protected by stone will save players countless trips and prevent unnecessary destruction.

4. Loot Everything and Store It
Looting everything at the start of Dune: Awakening is a classic MMO habit that pays off. Even if a resource seems repetitive, players can craft storage containers at their base to hold it all. Early resources such as Granite Stone, Plant Fiber, Salvaged Metal, Fuel Cells, Micro-sandwich Fiber, and EMF Generators are all valuable for base building and research. The table below summarizes their general use.
| Resource | Common Use |
|---|---|
| Granite Stone | Basic construction and crafting |
| Plant Fiber | Fabric, bandages, and early gear |
| Salvaged Metal | Tools, stations, and upgrades |
| Fuel Cells | Power generation and vehicles |
| Micro-sandwich Fiber | Advanced crafting and armor |
| EMF Generators | Base infrastructure and research |
Players should not leave behind chests, enemy drops, or loose materials. A full storage container is never a waste, because research and base expansion constantly demand more components.
5. Exploit Respawn Timers
One major mechanic that Dune: Awakening does not explain clearly is the respawn timer. Everything on the map respawns after a set period, including resources, enemies, and chest loot. After a player kills an enemy, loots a chest, or harvests a node, that same opportunity can return after the timer resets. For example, a chest at a scavenger camp may be looted, but after roughly one in-game day, the chest and its enemies will be available again. This makes farming routes extremely powerful. Players who memorize a circuit of camps, chests, and resource nodes can repeatedly gather key materials without wandering blindly. It is wise to note where rare resources appear and to plan a route that can be run after each respawn cycle.
6. Use the Map, Survey Probes, and Vehicles
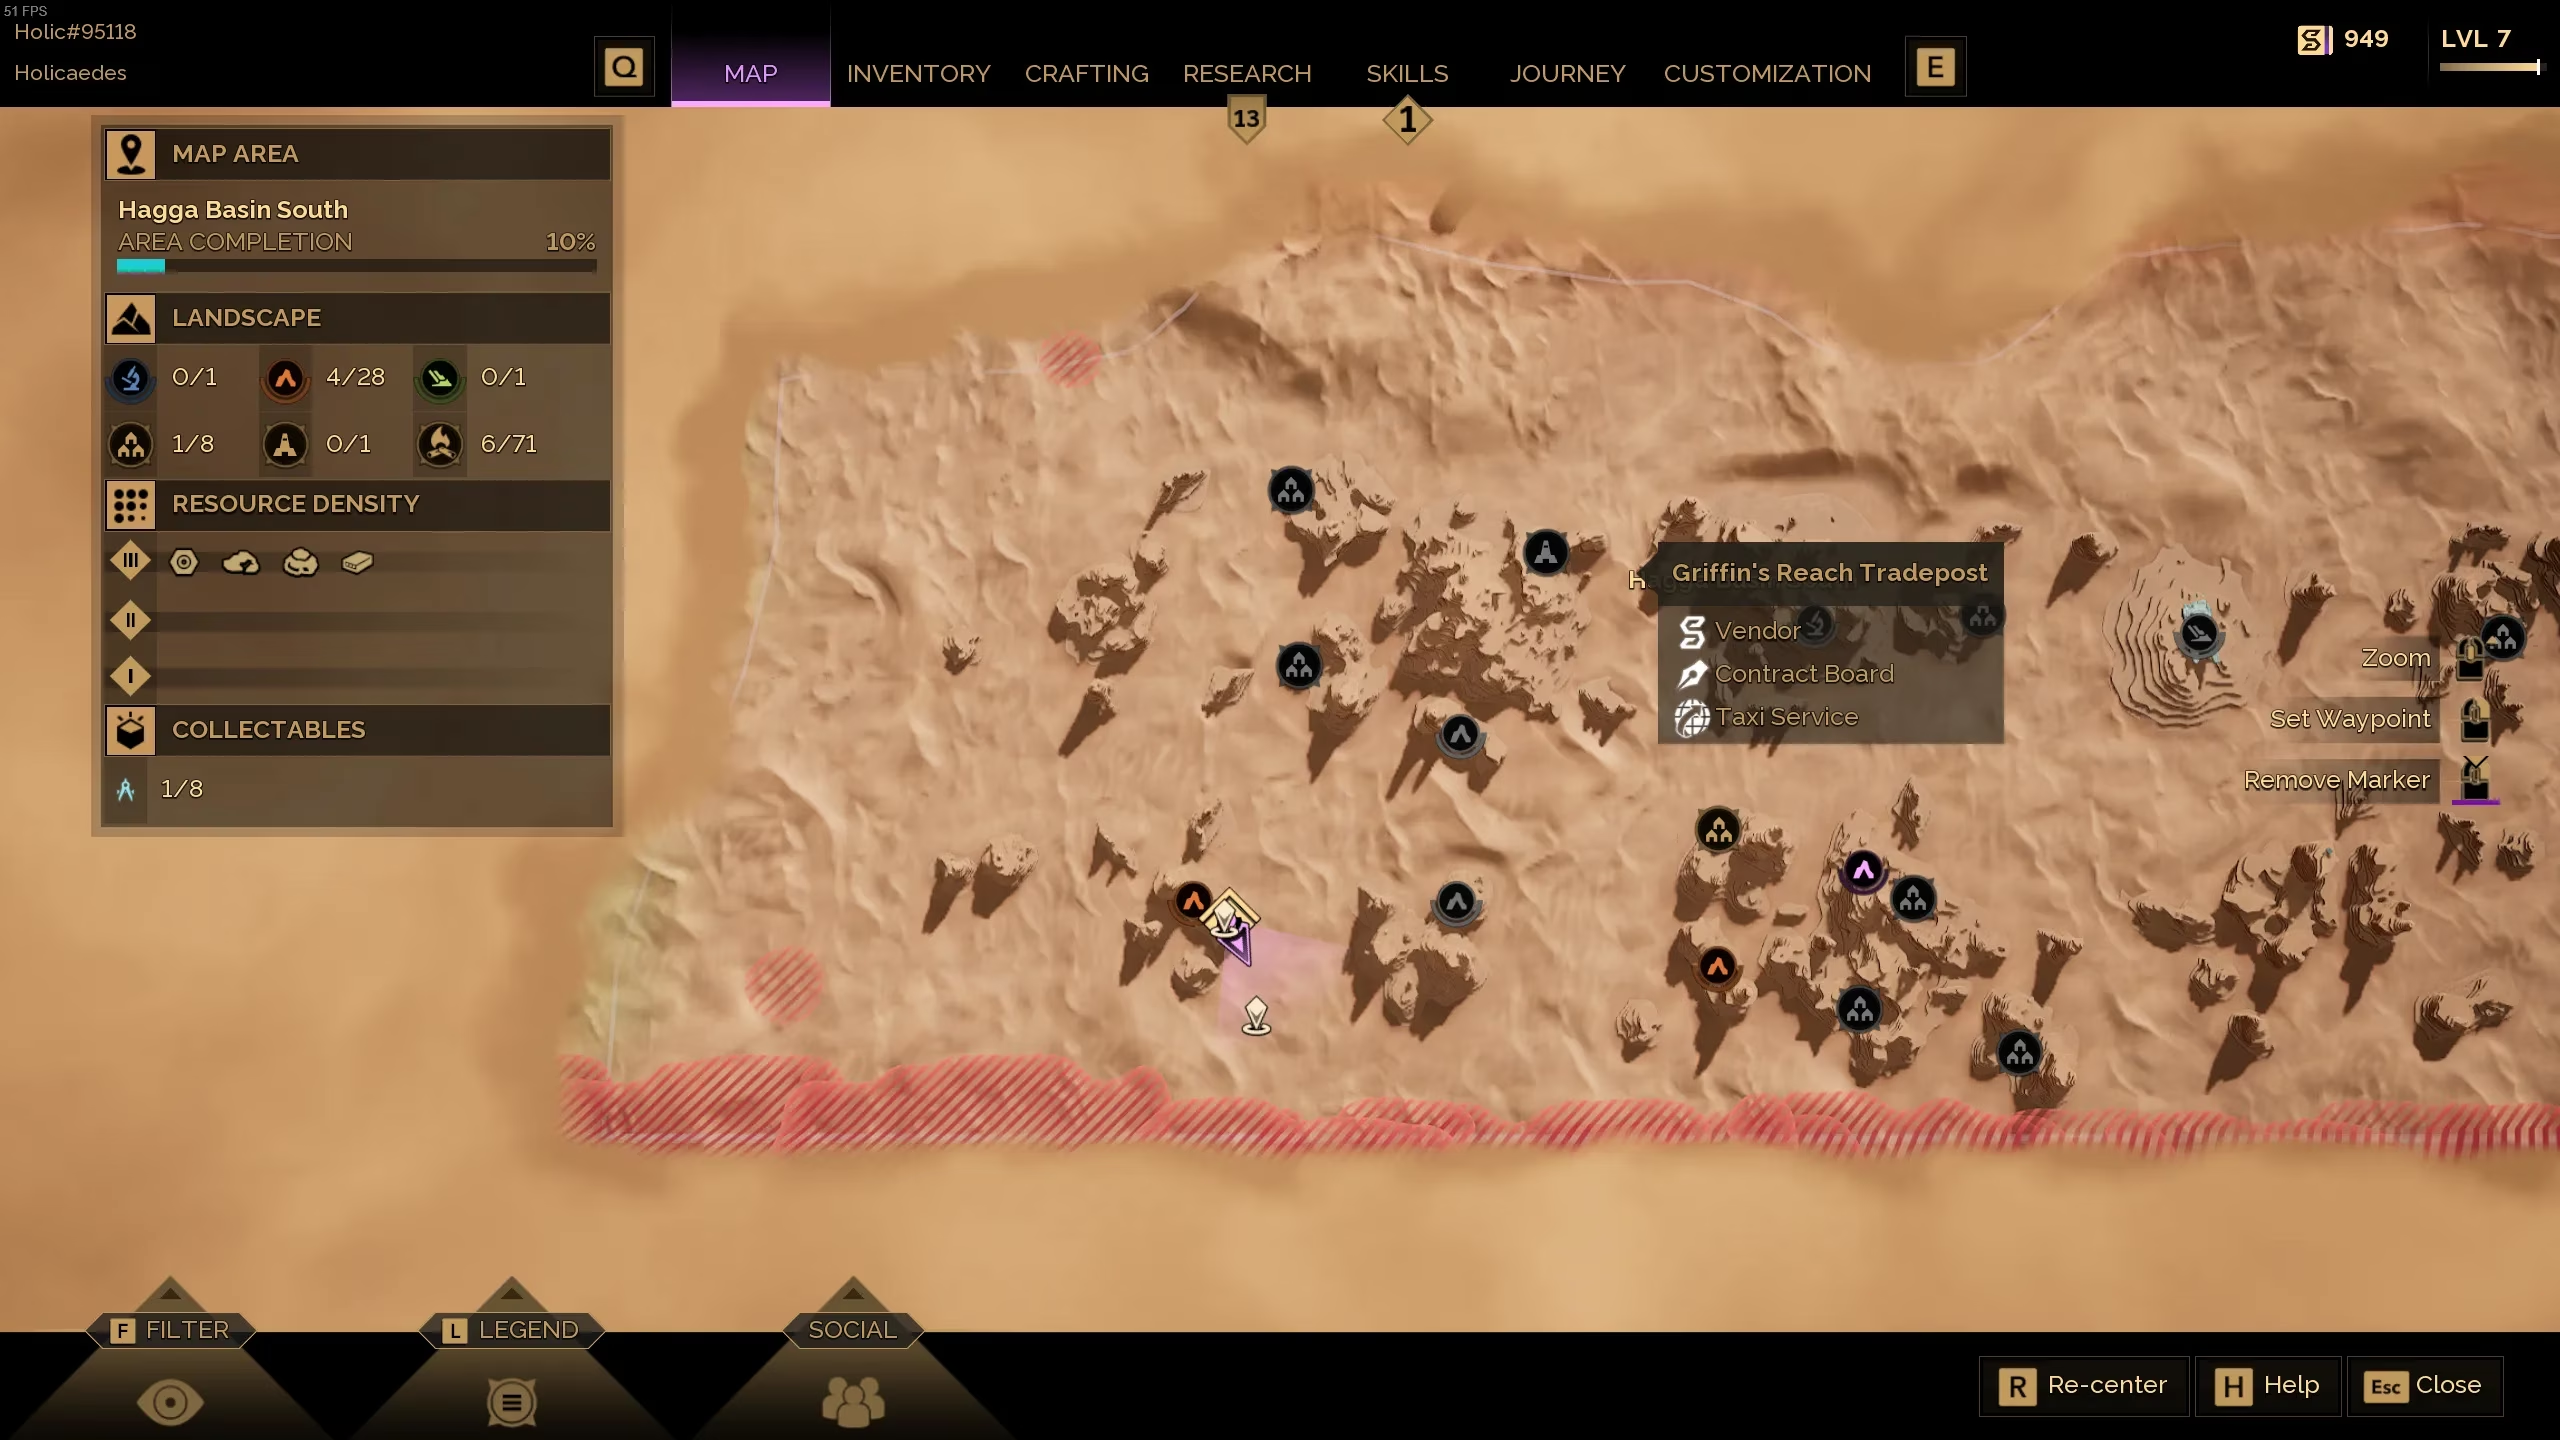
The map is one of the most powerful tools in Dune: Awakening. It shows points of interest and specific resource locations. As players explore, the map opens up, but Survey Probes can accelerate the process. A Survey Probe shoots into the sky and reveals everything in the surrounding region. Constructing a Survey Probe is part of the main quest, but players should craft extra probes and use one whenever they enter a new area. This ensures the map is uncovered quickly and that no resource node or camp is missed. For traversal, fast travel exists in certain situations, but vehicles are often more useful. Sandbikes and ornithopters allow players to cross the desert efficiently and carry more loot. A well-used map combined with reliable transport turns Arrakis from a maze into a manageable network of opportunities.
Final Thoughts
Dune: Awakening is a demanding survival MMO, but its early game becomes far less hostile once players understand the sandworm, the mission structure, base placement, loot value, respawn timers, and map tools. In 2026, these six beginner tips remain a reliable foundation for any newcomer. Arrakis will still be brutal, but with preparation, it can also be conquered. 🌵